Lesson 2: Use file sharing
In this lesson, you’ll learn how to connect to the shared folder like the one you created in Lesson 1. For this lesson, you’ll do all your work on a client Mac or iOS device. If you completed Lesson 1, your Mac is probably still connected to the server.
Connect using a Mac
On your local network. Mac computers on the local network appear in the Shared section in the Finder sidebar. Select the server in the list, then click Connect As.
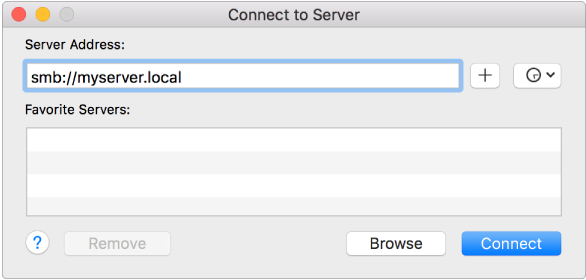
Outside your local network. In the Finder, choose Go > Connect to Server, enter the address (host name or IP address), then click Connect.

The server lets you authenticate using a name and password or access files as a Guest.
Connect using an iOS device
All file sharing using iOS is handled on a per-app basis.
An iOS app must explicitly support the iOS document sharing framework to connect to any file server; file sharing access isn’t available system-wide.
-
If an iOS app supports the framework, you can set up a connection to your server from your device with iOS 9 or later installed. Go to Settings > Mail, Contacts, and Calendars > Other > and tap Add OS X Server Account to create a new account.

Use pages to view your shared folder
If you have Pages installed on your iOS device, you can click the Add button
 and you should see your server in the list.
Congratulations!
You’ve learned how to create new shared folders of your own.
Where to go from here
There’s still a lot to learn about file sharing—for example, setting more complex permission combinations, using access control lists, and serving home directories instead of only folders.
You can find out more about these in Server Help.
Time Machine backup service uses shared folders to store backup files; see the Provide centralized backup tutorial.
Additionally, you might want to learn how to share files securely over the Internet; see the Configure public access tutorial.