Lesson 2: Secure a service
In this lesson, you’ll put the newly installed certificate to work by setting up a website with a secure SSL connection.
This lesson uses the built-in server website. If you’d like to set up a separate, custom website, see the Host a website tutorial.
After this lesson, you can secure any of the services in OS X Server that use SSL.
Step 1. Configure Website service
-
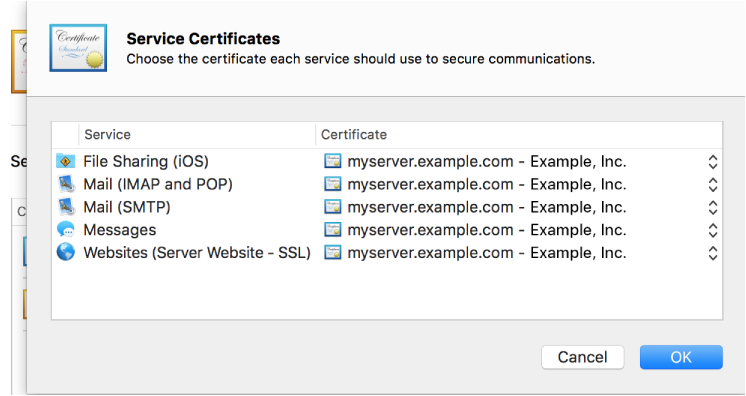
In the Server app, select Websites, then double-click the Server Website (SSL) site.

Choose the newly signed certificate in the SSL Certificate pop-up menu, then click OK to exit.

Step 2. Turn on Websites service
-
Click the button to turn on Web service.

Step 3. Test your configuration
-
Once the website is running, open Safari and enter “https://,” then your server’s host name (like myserver.example.com). The “https://” makes sure the browser asks for the secure connection.
Don’t use the placeholder host name; use your server’s host name instead.
Congratulations!
You’ve learned about how certificates, trust, and security works on the web. You learned how to generate a CSR and get it signed by a trusted CA, and how to install and use the signed certificate.
Where to go from here
You can use the installed certificate to secure the connection of several other services available in the Server app.
You can find out more about securing OS X Server in Server Help.
There’s still a lot to learn about creating a custom secure website; for more information, see the Host a website tutorial.
You might also want to learn how to access a private network securely over the Internet; see the Configure public access tutorial.